Lesson 1: How to get up and running
In this lesson, we will load a network file generated with pyPSA-Eur to understand how we can use it directly for our models.
The Goal
We want to understand how to get started with a big project:
- Create a baseline model using existing tools (e.g., pyPSA-Europe or pyPSA-Earth).
- Modify the existing model to taylor it to our needs.
Creating a baseline model using pyPSA-Europe
In my experience, the best way to create a realistic model is to start from an existing version, and modify it to improve fit or taylor it to our setting.
Existing network models can be created using config files and snakemake calls. See documentation
Note: I recommend creating your own config files for the model, so that you have more control over the settings (rather than trying to figure them out). In the config file, you can chose which technologies can be built, which countries should be included, how long each time period is (e.g., number of hours), etc.
Once we run the snakemake call (it can take a lot of time), a model is created:
- The process of running the snakemake call will download a lot of data.
- Importantly, it will also create an “.nc” network file.
- This is a file that contains all the objects relevant to simulating a network and what we will focus on.
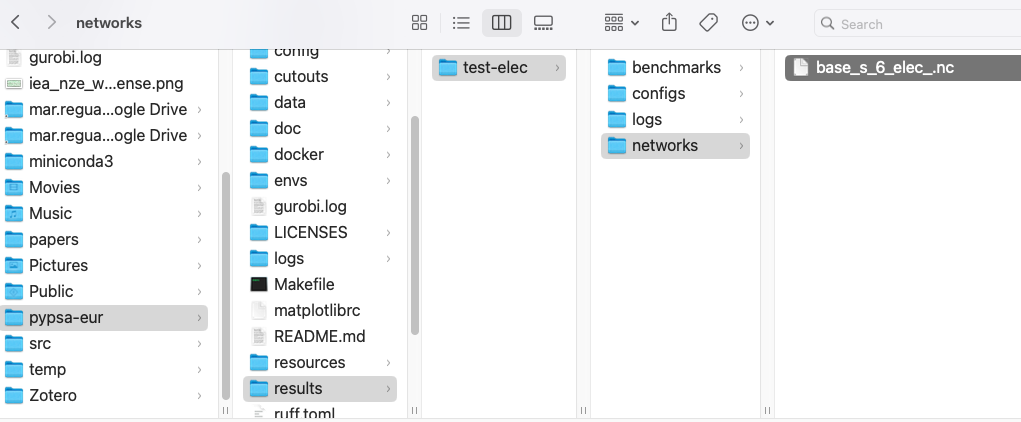
- You can find the network file under the folder “results” in the “pyPSA-eur” folder.
- For the model that you run, search for the subfolder “networks”. There should be an “.nc” file in there. See example below.
What is an .nc file?
An “.nc” file is an object that contains all the information and methods used to run a model.
We read an .nc file with the main library pypsa (not pypsa-eur or pypsa-earth).
Once we have loaded the network, we can explore its main components, its results, etc.
Here you can see an example of reading in and exploring an existing network.
Modifying an existing network to improve fit or try counterfactuals
We can also modify this network! This is the key to both:
- Improving a model for better fit
- Modifying a model to get insights
Open the Colab to get code with a basic example on how to do both steps.
What’s Next?
Now that you’ve built a basic network and we have learned how to modify it, we will use the pyPSA library to explore possibilities.